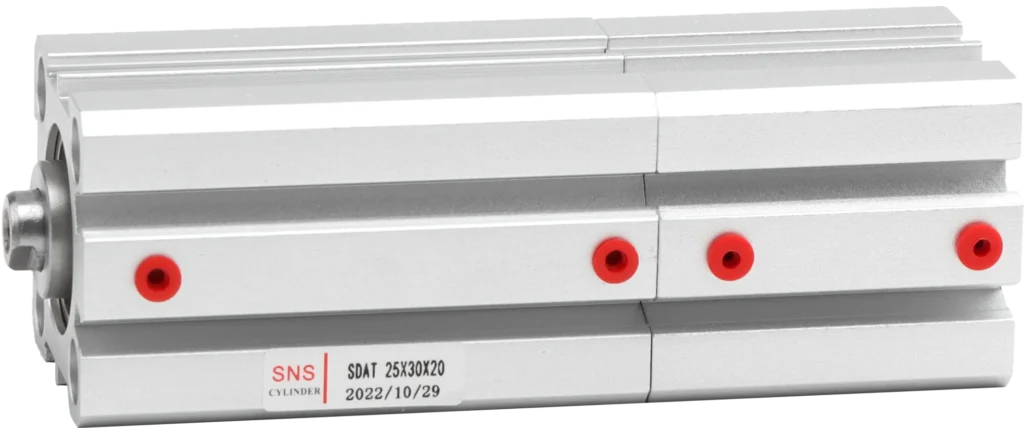
How to Disassemble a Hydraulic Cylinder
Disassembling a hydraulic cylinder may seem daunting, but with the right tools and techniques, it’s a manageable task.
In this blog post, we’ll guide you through the step-by-step process of taking apart a hydraulic cylinder safely and efficiently.
By the end, you’ll have the confidence to tackle this project like a pro.
Disassembling a Hydraulic Cylinder: A Step-by-Step Guide
Step 1. Preparation Steps
Start by ensuring that the equipment is turned off and all hydraulic pressure is relieved.
Next, disconnect any electrical connections linked to the cylinder. Carefully detach the cylinder from its mounting points, taking care to manage any hydraulic fluid that might leak out.
Then using a degreaser or solvent to remove dirt, grime, or oil, especially focusing on the ports and fittings areas. Wipe the cylinder down with a clean, lint-free cloth to ensure it’s completely clean.
Position a container beneath the cylinder’s ports to catch any fluid. Remove any plugs or fittings, let the fluid drain completely, and then securely plug the ports to block debris during disassembly.
Finally, secure the cylinder either in a vice or on a work table, making sure it is stable and won’t move. Use soft jaws or protective material to avoid damaging the cylinder’s surface during the disassembly process.
Step 2. Retracting the rod assembly fully
Make sure the hydraulic system is depressurized and all power sources are disconnected.
If the rod is stuck or corroded, apply penetrating oil and let it soak. You may need to use a slide hammer or hydraulic pressure to break it free. Once the rod can move, carefully retract it all the way into the cylinder. Secure it in place if needed.
Step 3. Removing the external retaining mechanism
Identify the type of retaining mechanism – wire ring, snap ring, or threaded cap.
For a wire ring, use wire cutters to snip the wire and pull it out with pliers.
For a snap ring, use snap ring pliers to compress and remove the ring.
For a threaded cap, use a spanner wrench or pin spanner to rotate the cap counterclockwise until it comes off. If it’s stuck, carefully apply heat or use a penetrating oil.
Step 4. Extracting the piston rod assembly
With the retaining mechanism removed, the piston rod assembly can be pulled out. Pull it straight out, being careful not to let it drop. If the gland is stuck, you can apply hydraulic pressure to the cylinder to force it out. Use caution and make sure the rod is supported. Alternatively, carefully apply heat to the cylinder tube to break the seal. Use even heat and avoid overheating any spots.
When removing, avoid letting the rod drag on the cylinder walls, as this can damage the surface. Pull straight out.
Step 5. Disassembling the piston from the rod
With the assembly out, remove any lock nuts or fasteners connecting the piston to the rod. These are usually standard hex nuts.
Slide the piston off the rod. It should come off easily once the fasteners are removed.
The piston seal sits in a groove on the outside of the piston. Carefully pry it out, avoiding damage to the piston surfaces.
Step 6. Removing seals and wear rings
Hydraulic cylinders have several seals – rod seals, piston seals, wiper seals, and guide rings or wear rings. Refer to a parts diagram for your cylinder to identify them.
To remove seals, carefully pry them out of their grooves with a pick or flat-head screwdriver. Be careful not to scratch the surfaces.

FAQs
What tools are required to disassemble a hydraulic cylinder
You typically need wrenches (open-ended or socket), a rubber mallet, a set of screwdrivers, snap ring pliers, and possibly a cylinder bench or vise for stability.
How do I safely depressurize a hydraulic cylinder before disassembly
Ensure all pressure is relieved by operating the control valve in both directions. Disconnect any pressure supply and open the system to atmospheric pressure if necessary.
Can I reuse the hydraulic fluid after disassembling the cylinder
It’s recommended to use new hydraulic fluid to avoid contamination. If reusing fluid, ensure it is filtered and free from any debris or contaminants before reuse.
In conclusion
Disassembling a hydraulic cylinder is a straightforward process that requires careful attention to detail and the right tools.
By following these steps, you can successfully disassemble your hydraulic cylinder and address any issues that may arise.
Remember to always prioritize safety and consult with a professional if you encounter any difficulties.
Start disassembling your hydraulic cylinder today and keep your equipment running smoothly!


