How To Install Air Regulator
Installing an air regulator is a vital process for managing the pressure within pneumatic systems, ensuring optimal performance and safety. This guide provides concise instructions on how to correctly install an air regulator, highlighting necessary tools, safety precautions, and step-by-step procedures to achieve efficient pressure control in your system.
Step-by-Step Installation Guide
Tools and Materials Needed
The essential items you will need include a wrench, Teflon tape, pliers, and of course, the regulator kit itself.
Safety Precautions
Ensuring safety while installing an air regulator begins with two critical steps: disconnecting the power supply to the air compressor and releasing any residual pressure within the tank. This process is paramount to prevent any accidental power surges or pressure releases that could result in injury.
To safely disconnect the power, first, make sure that the air compressor’s switch is in the “off” position. Afterward, remove the plug from its electrical socket, effectively cutting off any power to the device.
Releasing tank pressure is equally important for safety. To achieve this, locate the pressure release valve on your air compressor. Slowly open this valve, allowing air to escape gradually. You might hear a hissing sound as the pressurized air exits – this is normal. Continue until you can no longer hear air being discharged; at this point, the tank is depressurized and safe to work on.
Step 1: Remove the Old Regulator (if applicable)
To begin the process of installing a new air regulator on your compressor, it is often necessary to first remove an existing one.
Using appropriate tools such as a wrench and pliers, carefully loosen and disconnect the fittings attached to the old regulator. This might require some effort depending on how tightly these components are fitted or if they have remained undisturbed for an extended period. It’s essential during this phase to handle all parts gently to prevent damaging threads or other parts of your air compressor setup.
Once all connections have been successfully detached, you should be able to remove the old regulator from its position. Keep all removed components organized; some might be reusable or required for reinstalling a new or different type of regulator.
Step 2: Attach the New Regulator to the Air Compressor
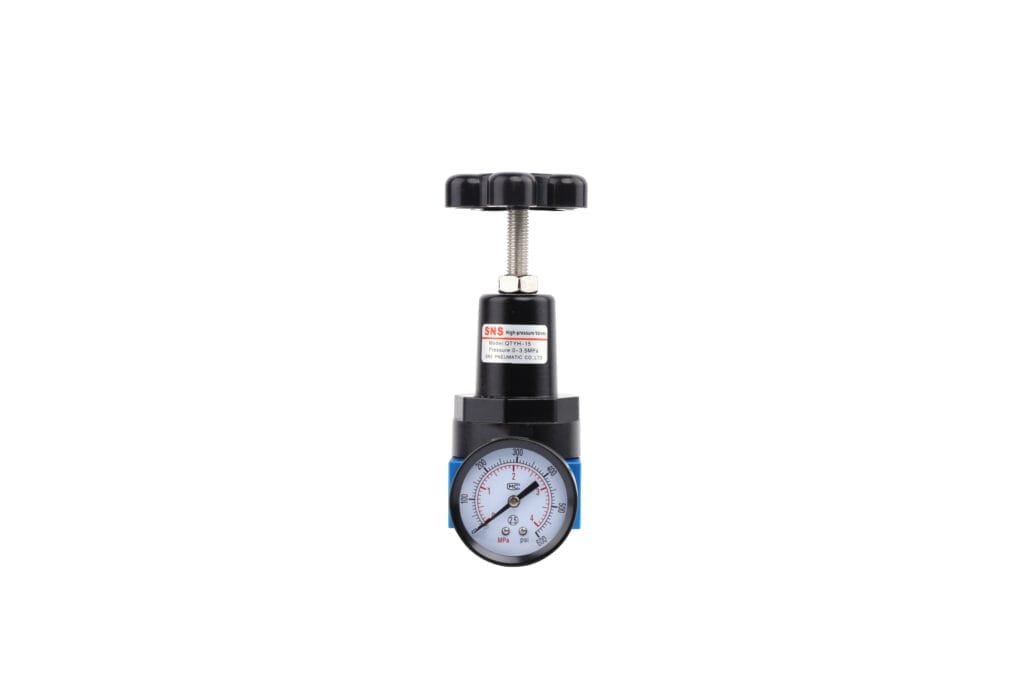
Begin by positioning the regulator correctly; it should be aligned so that its output pressure gauge is easily readable and its adjustment knob is accessible. Once you’ve found the optimal position, proceed to secure the regulator firmly onto the air compressor’s outlet port.
It’s essential to ensure that there is a snug fit between the regulator and the compressor to avoid any potential leaks. However, while tightening, care must be taken not to over-tighten as this could damage both the threads of the outlet port and the regulator itself, leading to future issues with air leakage or even making it difficult to remove or adjust the regulator later on.

Step 3: Wrap Threads with Teflon Tape to Prevent Leaks
Start by carefully cleaning the threads on both the air regulator and the component it will attach to, removing any debris or old tape remnants. This preparation ensures that the Teflon tape adheres properly and provides an optimal seal. Take your roll of Teflon tape and hold its end against the base of the thread, ensuring that when you start wrapping, it will be in a direction that tightens as you screw in the regulator. Typically, this means wrapping clockwise if you are looking at the thread end-on.
Begin wrapping tightly around the threads, overlapping each layer slightly to ensure full coverage. Generally, three to four complete wraps are sufficient for most fittings; however, this can vary based on the size of your threads and their condition. Be careful not to overwrap, as too much Teflon tape can actually hinder proper threading or create bulges that disrupt a smooth seal.
Once wrapped, gently press down on the wrapped threads with your fingers or lightly use pliers to ensure that the Teflon tape is embedded into every groove of the thread. This action also helps in removing any potential air bubbles that might have been trapped during wrapping. Following this preparation ensures that when you screw in your regulator to its fitting, it will form an efficient and durable air-tight seal.
Step 4: Reconnect Fittings and Use Wrenches to Ensure a Tight Fit
Using wrenches, carefully reconnect any fittings that were removed or loosened during the process. Hold one wrench stationary on one side of the fitting, while turning the other wrench on the opposite side to tighten. This method helps prevent over-tightening or stripping of the threads, a common issue that can cause damage and lead leakage. Each connection should be checked thoroughly by applying moderate pressure with the wrenches until you feel a solid resistance, indicating that the fitting is securely fastened.
Step 5: Test the Regulator for Proper Functioning and Adjust Settings as Needed
Start by slowly turning on your air compressor, paying close attention to the sound and behavior for any initial signs of malfunction or leakage. As the compressor reaches its operational pressure, observe the regulator’s pressure reading. It should display a consistent and stable pressure level that matches your desired setting.
If the reading is not accurate or if you notice fluctuations, refer back to your regulator’s manual. Most models come with detailed instructions on how to adjust settings for optimal performance. Usually, this involves turning a knob or a screw on the regulator body until you reach the required pressure output. During adjustment, keep an eye on both the input and output pressure gauges (if applicable) to ensure they indicate precisely what you need for your pneumatic tools.
After making adjustments, let your system run for a few minutes and monitor it closely. Check all connections for leaks by applying soapy water around them; bubbles will form where there are leaks. Tighten any fittings as needed until no bubbles appear.
How Do You Set Up An Air Regulator Pressure?
Setting up an air regulator pressure is a straightforward task that ensures the safety and efficiency of your pneumatic tools or systems. The process involves a few simple steps to adjust the outgoing pressure to your desired level, which can significantly impact the performance of your equipment. It’s vital to follow these guidelines to prevent damage or inefficient operation.
Firstly, ensure all connected equipment is turned off before making any adjustments to avoid sudden changes in pressure that might cause harm or damage. Locate the air regulator on your compressor; it should be in an accessible position, typically marked for easy identification.
To begin adjusting the regulator, pull out or lift the adjustment knob on the regulator. This action unlocks the adjustment mechanism, allowing you to turn it. Turning the knob clockwise usually increases the pressure output, while turning it counterclockwise will decrease it.
Watch the attached gauge closely as you make adjustments. This gauge displays the current output pressure level of the regulator. Aim for a balance where you meet your tools’ required operating pressure without exceeding it; overpressure can lead to wear and tear or even operational failure.
After reaching the desired pressure setting, push down or release the adjustment knob to lock in your setting. This step is crucial as it prevents unintentional adjustments that could occur during operation.
Finally, perform a test run of your equipment at this new setting to ensure everything operates smoothly under these conditions. If necessary, slight adjustments can be made following the same procedure until optimal performance is achieved.
Which comes first air filter or regulator?
When setting up a system, the air filter should come before the regulator. This arrangement ensures that the air being regulated is clean, extending the life of the regulator and improving overall system performance. The filter captures contaminants and moisture from the air, preventing them from reaching and potentially damaging the regulator.
Can an air regulator be mounted in any position?
YES, an air regulator can generally be mounted in any position. However, it’s pivotal to ensure that the installation aligns with the manufacturer’s guidelines to avoid any operational issues. The orientation should also consider easy access for adjustment and maintenance. Ensuring proper installation in the desired position guarantees the regulator’s efficiency and longevity.
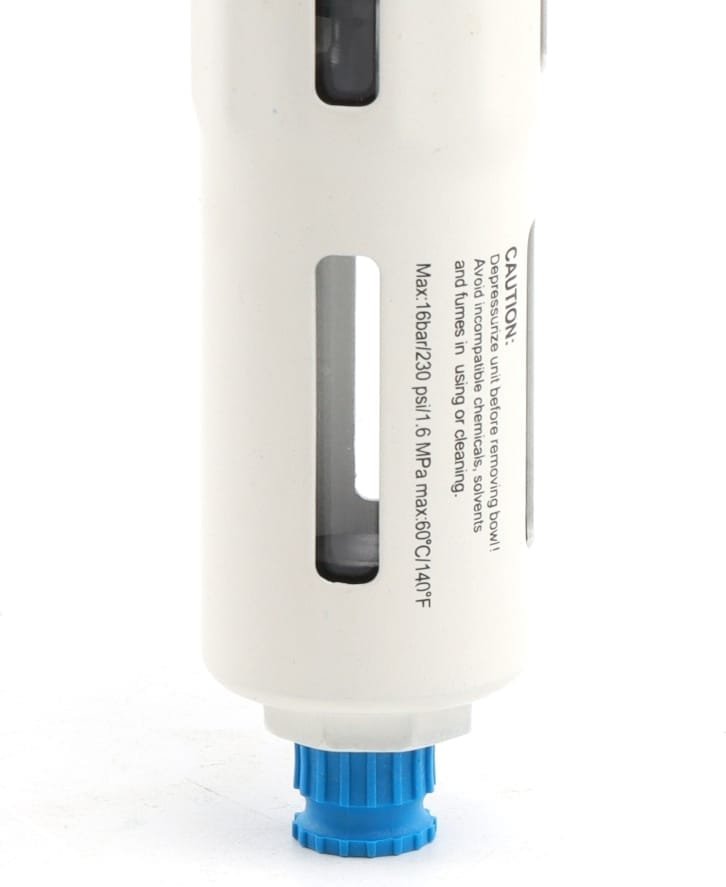
Are Air Regulators Directional
Yes, air regulators are indeed directional. They are designed with a specific flow direction in mind, indicated by an arrow on the body of the regulator. This is crucial for the regulator to function correctly and manage air pressure efficiently. Incorrect installation opposing the airflow direction can lead to malfunction and damage to the regulator.
What happens if you put an air regulator on backwards
If you install an air regulator backwards, the device will likely not regulate air pressure correctly, if at all. This incorrect installation can lead to issues with the system receiving either too much or too little pressure, potentially causing damage or malfunctions in the equipment it is supposed to regulate. Proper orientation is crucial for the air regulator’s effective operation.
Can air regulator be installed vertically?
YES, an air regulator can be installed vertically. However, it’s essential to follow the manufacturer’s instructions or specifications for proper installation. Installing an air regulator vertically typically does not affect its performance, but orientation might influence the ease of seeing gauge readings or adjusting settings. Ensure that any adjustments needed for vertical installation are addressed to maintain the regulator’s efficiency and longevity.
In Conclusion
Installing an air regulator is essential for managing the pressure in your pneumatic tools, ensuring both safety and efficiency in their operation.
To take a significant step towards enhancing the performance and extending the lifespan of your equipment, consider installing an air regulator today. Explore our range of products and find the perfect match for your needs, ensuring you enjoy a seamless and productive working environment.
