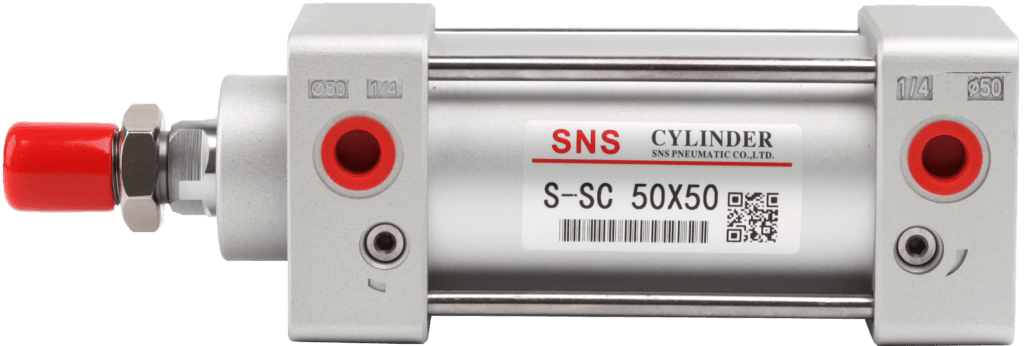
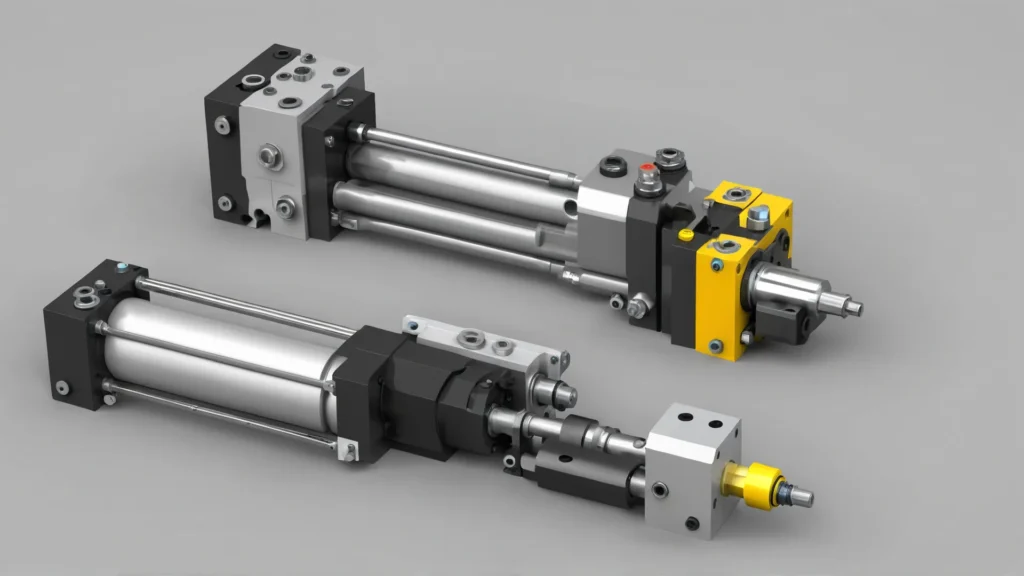
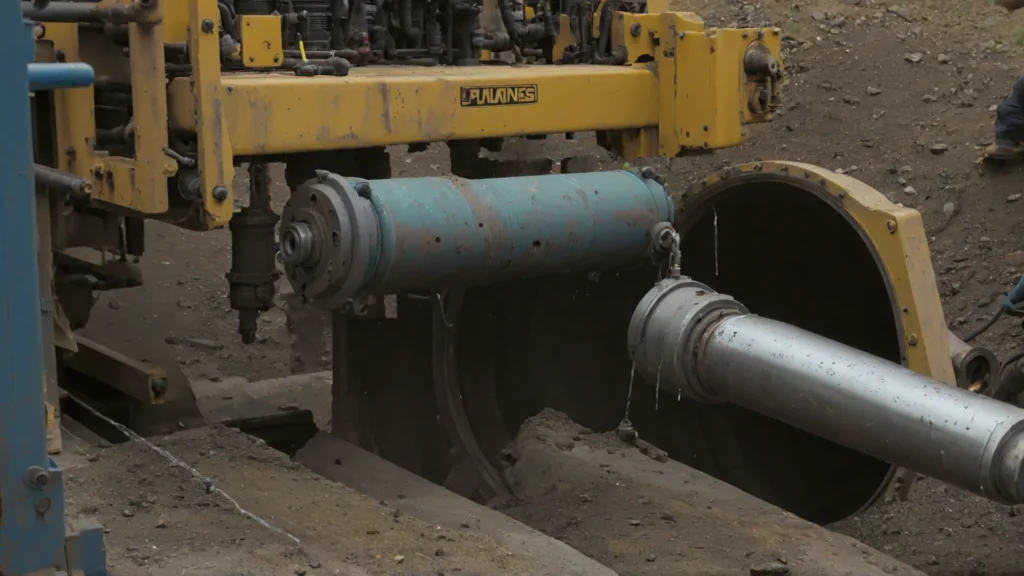
How to Replace Hydraulic Cylinder Seals
Hydraulic cylinder seals play a crucial role in ensuring the proper functioning and longevity of your hydraulic system.
Over time, these seals can wear out, leading to leaks, decreased efficiency, and potential damage to other components.
In this comprehensive guide, you’ll learn the step-by-step process for replacing hydraulic cylinder seals, ensuring optimal performance and extending the lifespan of your equipment.
Can You Fix a Leaking Hydraulic Cylinder
Yes, a leaking hydraulic cylinder can often be fixed by replacing the seals.
However, if the leak is caused by damage to the cylinder bore or rod, the cylinder may need to be repaired or replaced.
Depressurizing and Disconnecting the Hydraulic System
Start by turning off the equipment and locating the hydraulic control valve. Move the valve to the neutral position and let the system idle for a few minutes to allow pressure to dissipate gradually.
Next, turn off the engine completely and wait for any residual pressure to release. Double check that there is no remaining pressure before proceeding.
Disconnect the hydraulic hoses, being careful to catch any fluid that may leak out. Plug the hose ends and cylinder ports to prevent contamination.
Step-by-Step Seal Replacement Process
Step 1: Cylinder Disassembly and Component Removal
Secure the cylinder in a vice and carefully disassemble it, referring to the manufacturer’s instructions.
This typically involves removing the gland/head, piston rod, and piston. Keep parts organized and take note of component orientation for reassembly.
Step 2: Cleaning and Inspection
Thoroughly clean all cylinder components with a safe cleaning solvent.
Inspect the cylinder bore, piston, rod and other parts closely for scratches, nicks, burrs or damage. Minor imperfections can be smoothed with fine grit emery cloth, but damaged components should be replaced.
Step 3: Removal of Old Seals
Carefully remove the old seals, taking care not to scratch the seal grooves.
Clean out the seal grooves.
Step 4: Installation of New Seals
Lubricate the new seals with clean hydraulic fluid. Gently work the seals into their grooves, taking care not to twist or damage them. Make sure they are fully seated.
Replace any wear rings or bushings at this time as well.
Step 5: Cylinder Reassembly
Lubricate the cylinder components, especially the piston and its seals. Carefully insert the piston into the cylinder bore.
Step 6: Testing the Repaired Cylinder
Once reassembled, the cylinder should be tested before putting back into service. Securely mount the cylinder and connect it to a hydraulic pump. Slowly cycle the cylinder a few times to distribute lubricant.
Check for any leaks, especially at the piston rod and port connections. Verify the cylinder holds pressure and extends/retracts smoothly under load. Any sticking, leaking or odd noises indicate a problem that must be corrected before use.
Diagnosing Seal Failure
Excessive Wear
If the dynamic face of the seal has a glassy, mirror-like appearance, it usually means there was insufficient lubrication. Uneven wear on one or both sides of the seal suggests excessive lateral loading or a misaligned cylinder.
Grooving
Linear cuts or grooves worn into the dynamic side of the seal in the direction of rod travel are typically caused by internal contamination. Hard or sharp debris gets under the seal and scratches the surface. To prevent this, the system must be flushed and the hydraulic fluid replaced.
Fracturing
Significant issues are present when chunks of seal material have broken off, surfaces appear burned, or long cracks and splits are visible. Excessive backpressure, increased friction, or bad hydraulic fluid can cause this.
Hardening
A glazed, cracked, and brittle appearance indicates the seal has lost elasticity. This commonly occurs due to excessive operating temperatures, which may result from higher-than-recommended stroke speeds or an unsuitable seal material for the application or hydraulic fluid.
Scarring
Cuts, dents, or scratches on the dynamic face of the seal can be caused by improper installation or damage to the cylinder rod from external impact or contamination. When the seal runs over these marred spots, it becomes damaged.
Swelling
Deformed and misshapen seal material is a sign of swelling, which is usually the result of using hydraulic fluid that is incompatible with the seal material. Water in the fluid or external chemical exposure may also produce similar results.
Deterioration
When the seal has lost all elasticity and begins to break apart with a cracked and crumbling appearance, it has deteriorated. High operating temperatures and prolonged exposure to sunlight or ozone are common causes.
Extrusion
If the inner face of the seal pushes out and breaks apart, it is unable to handle the internal pressure. This could be due to excessive pressure, but worn mating surfaces out of spec can also cause it.
FAQs
Hydraulic Cylinder Seal Replacement Cost
The cost to replace hydraulic cylinder seals varies depending on the cylinder size and type, but typically ranges from $100 to $500.
What Is the Most Common Seal Failure in a Hydraulic Cylinder
The most common seal failure in a hydraulic cylinder is wear and tear on the rod seal. This seal prevents fluid from leaking out where the rod enters and exits the cylinder.
How Do You Remove a Ring from a Hydraulic Cylinder
To remove a ring from a hydraulic cylinder, first disassemble the cylinder and remove the rod. Then, carefully pry out the old ring using a soft tool like a plastic pick, taking care not to scratch the metal surfaces.
Which Way Does Rod Seal Go in Hydraulic Cylinder
The rod seal goes into the gland at the end of the cylinder where the rod comes out, with the lip of the seal facing inward. This orientation allows the seal to prevent fluid from escaping as the rod moves in and out.
Conclusion
Replacing hydraulic cylinder seals is a critical maintenance task that ensures the longevity and efficiency of your hydraulic systems.
By following the correct procedures, you can prevent leaks and maintain optimal performance.
For more detailed guidance and to ensure your machinery operates at its best, consult with a professional or refer to your equipment’s manual.
Contact us today for expert assistance.